
How to restore a weathered deck
If your deck has turned grey, don't worry; you can usually rejuvenate it over a couple of weekends, provided the wood is still in good shape. Remember, the preparation work plays a crucial role in determining whether your new finish will last for two years or just six months. If you find this project a bit overwhelming or time-consuming, DC Decorators in Brisbane specialises in deck restorations and can provide you with a custom quote within a day.
Is your weathered deck worth restoring or too far gone?
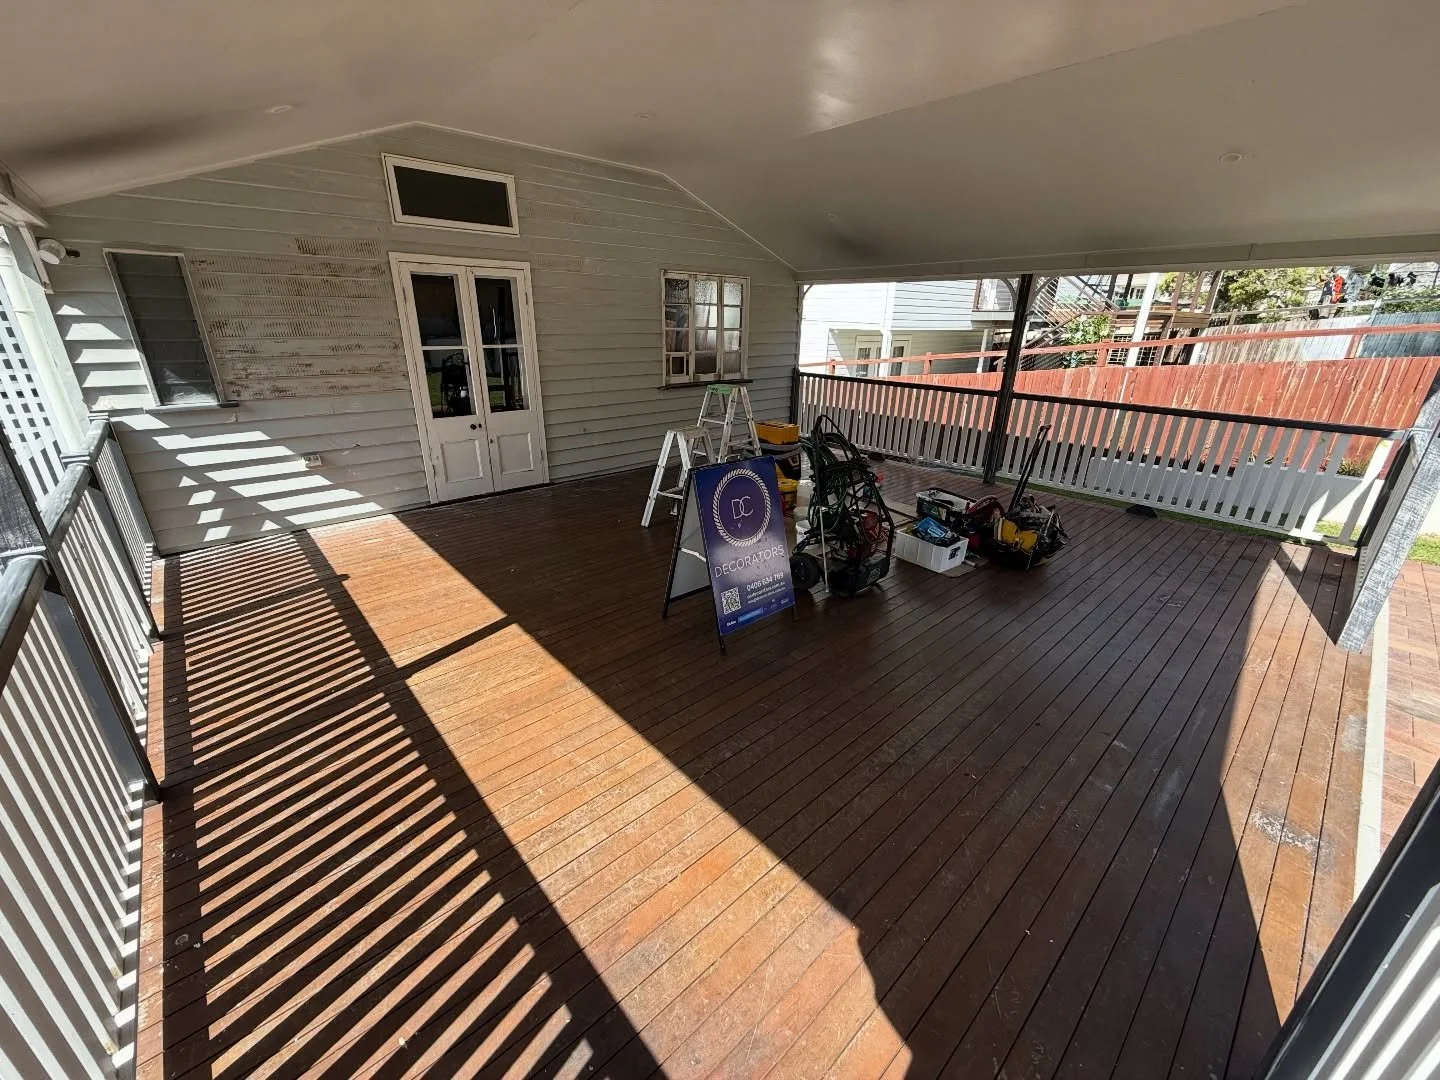
Before making any purchases, assess the condition of your deck. While UV rays may bleach the wood and damage the surface coating, these effects are mostly superficial. The boards beneath are often still in good shape.
The real concern is rot. To check for this, use a screwdriver and press its tip into various boards, particularly at the ends and in areas where water tends to pool after rain. Solid wood will resist the pressure. If the screwdriver sinks in easily or the wood feels soft, that section of the deck is likely rotting and needs replacement.
Take a look under your deck. While the walking surface is simple and cheap to replace, the real structure (that's the bearers and joists) is what holds everything up. Replacing just the damaged boards makes sense when the frame looks good. But if the frame itself is rotten and the deck feels shaky, that's a different story. You might need a total redo. Typically, if more than 20% of the boards need fixing, think about whether it’s smarter to opt for rebuilding the whole thing instead.
Tools and materials you need to restore a deck
Before you begin, make sure you have everything you need. Most items can be rented or purchased from local stores.
First, gather a stiff broom and a garden hose to clean the deck. If you have access to a pressure washer, it can make the job easier. You'll also need a deck cleaner, and if your wood has turned a dull grey, a wood brightener will help restore its original look.
If your deck is painted or has a film coating, a paint stripper will be necessary to remove it. For sanding, get a power sander, such as an orbital sander, or hire a floor sander for larger projects. Have sandpaper in both coarse and medium grits ready.
You'll need paint brushes and either a roller or an applicator pad to apply the coating. A scraper will also come in handy. If your deck requires repairs, keep replacement boards and deck screws on hand, along with exterior filler.
Choose a decking oil or stain in your preferred colour. It's wise to buy a bit more than recommended, as aged wood tends to absorb the first coat more quickly than new wood.
Don't forget safety gear: wear safety glasses, a dust mask, gloves, and old clothes that you don’t mind getting dirty. With these supplies, you'll be well-prepared to tackle your deck project.
How to restore a weathered deck step by step
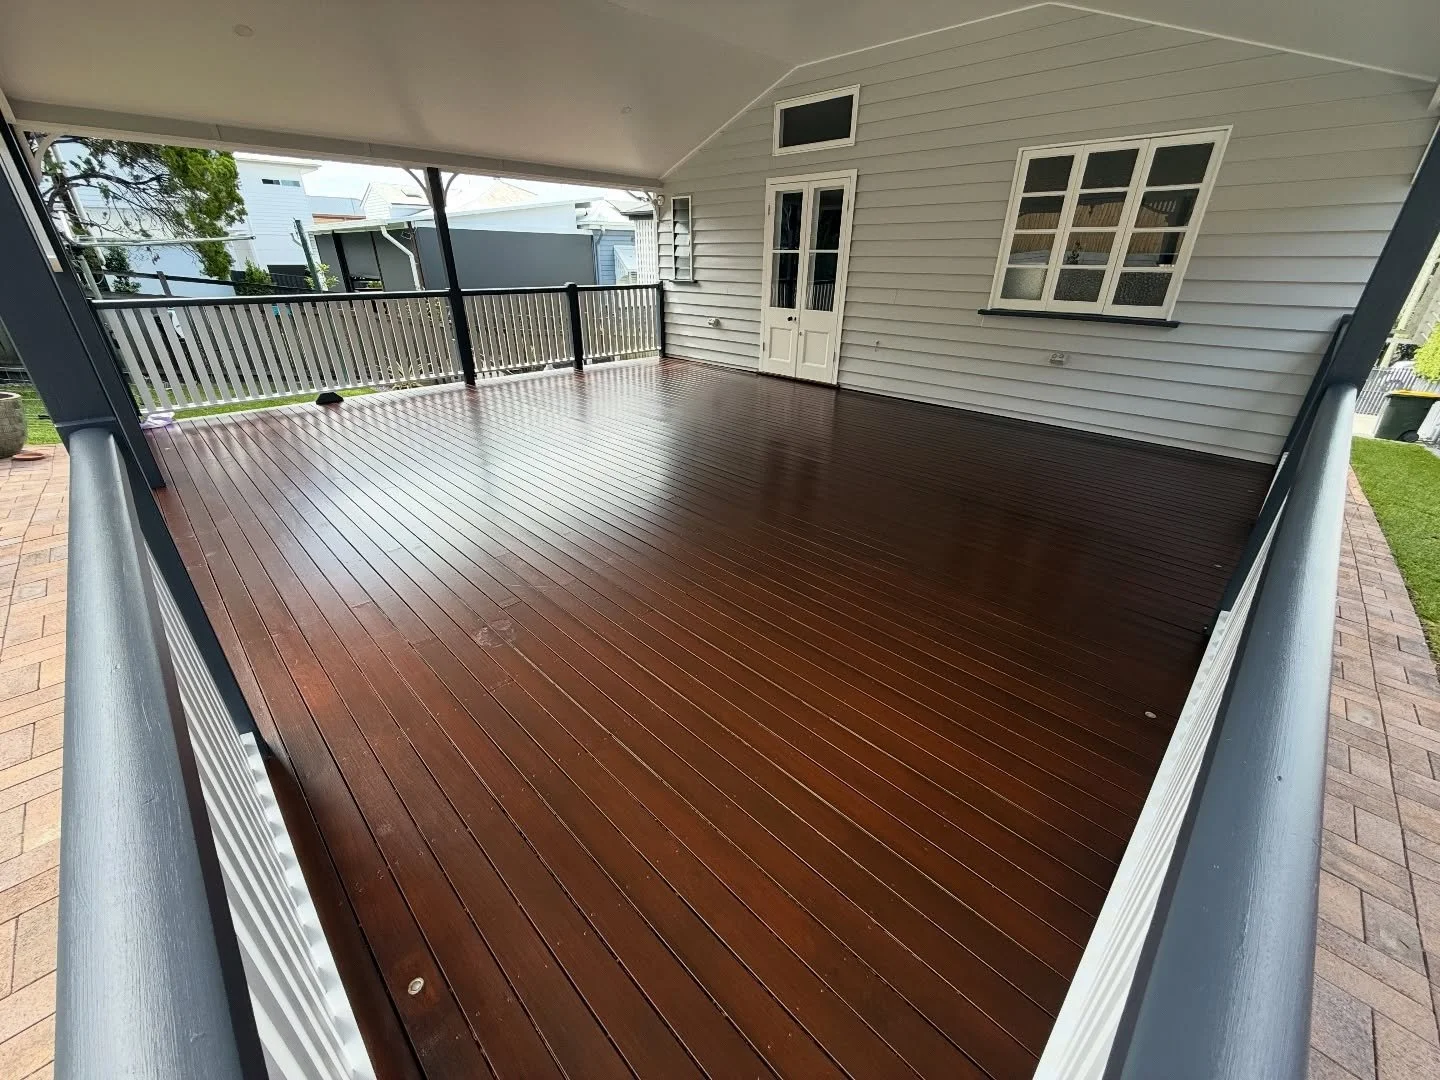
Clean the deck and remove dirt, mould and debris
Start by sweeping the deck thoroughly to remove any debris lodged between the boards. Leaves and dirt can trap moisture, especially in Brisbane's humid climate, which encourages the growth of mould and mildew. Next, apply your deck cleaner, making sure to scrub it in well, and then rinse it off.
Pressure washing helps revive your deck by lifting that grey layer and revealing some of its original colour. Just be careful! Move the nozzle around and stay far enough away to prevent damage. Too much pressure can gouge the timber. For decks that are really faded, use a wood brightener. Always make sure everything is totally dry before you move on.
Strip old paint, stain or coating from the boards
If your deck has only been oiled, you can bypass this step, as oil penetrates the wood rather than creating a surface layer. However, if your deck is painted or stained, you'll need to remove any lingering paint or film. Applying a new layer over peeling paint can cause it to detach and peel within a few months.
To start, apply a paint stripper and let it work into the surface. Then, scrape it off following the wood grain. Don't worry about getting it flawless, as sanding will take care of most of the residue.
Repair loose boards, nails, cracks and rot
Address any damage you discover by replacing any soft or rotting boards with new timber that matches the original profile. Instead of hammering down loose nails, remove them entirely and secure everything with deck screws, which provide a stronger grip and lay flat when countersunk. For boards you plan to keep, fill any splits or cracks with an exterior-grade filler. Ensure that each board is securely fastened to every joist. The aim is to have a solid deck that doesn't shift when walked on before you begin sanding.
Sand the deck back to clean timber
Sanding prepares a surface by creating an even base for paint or stain to adhere to effectively. Begin with a coarse grit to remove the old, weathered layer and any remnants of previous coatings. Afterwards, switch to a medium grit for a smoother finish. Using a power sander can significantly reduce the time and effort involved. For larger projects, like a big deck, renting a floor sander can be a worthwhile investment.
Always sand in the direction of the wood grain, and ensure you keep the sander moving, particularly at the ends of the boards where damage from weather is often more pronounced. Once you're finished sanding, thoroughly vacuum the area to remove all dust particles. Then, carefully wipe down the boards. It's important to eliminate all dust, as any residue can prevent the oil or stain from adhering properly.
Recoat the deck with decking oil or stain
Make sure your wood is totally dry before starting. Applying finish to damp timber traps moisture, leading to early failure of the coating. Also, mix the oil or stain really well and apply it evenly on two to three boards at a time. Doing this keeps a wet edge, so you don't end up with those pesky lap marks.
Most weathered decks benefit from two coats of finish. After applying the first coat, allow it to dry according to the instructions on the can. Then, proceed with the second coat. Be sure to wipe away any excess that pools to prevent a sticky surface. Keep people and furniture off the deck until it has fully cured for the best results.
Decking oil vs stain: which is better for a weathered deck?
In Brisbane, using penetrating decking oil is usually your best bet for taking care of weathered timber decks. The oil goes deep into the wood, basically nourishing it from within. As it wears out, it fades instead of peeling off, making maintenance simpler. You only need to clean the deck and add a fresh coat of oil, and you skip the whole stripping process.
On the other hand, stains (especially those forming a film) rest on the wood's surface. They initially provide bright colour and slightly better UV protection. However, when they start to deteriorate, the coating can crack and peel, especially under Queensland’s harsh sun. This means you’ll need to strip everything before recoating. If your deck has already weathered, this is a process you’d likely want to avoid.
For those seeking a deeper or darker appearance, penetrating oil-based stains offer a good solution. They tint the wood while being absorbed, without forming a surface layer. Solid stains, which resemble paint, offer the most intense colour but age similarly to paint, requiring more intensive maintenance.
When is the best time to restore a deck in Brisbane?
Timing is crucial when maintaining decks in our climate, as weather conditions can affect the effectiveness of coatings. Between November and March, frequent humidity and unexpected storms can hinder the drying process. Coatings need a few consecutive dry days to properly set, and an unexpected shower on a newly oiled deck means you'll have to start over.
The ideal period for coating is between April and September. During these months, the lower humidity allows for quicker and more consistent drying. It's important to choose a time when there's no rain predicted for at least a few days before and after your planned coating day.
Stay away from painting when it's super hot, even outside the wet season. The strong Queensland sun can bake those dark boards, making the oil dry too fast for a blotchy finish. For the smoothest results, work in the cooler early mornings or late afternoons in some shade on the deck.
Common mistakes to avoid when restoring a deck
A big mistake is sealing damp timber. Even if it feels dry, moisture from washing or dew might be trapped inside. Sealing it then could cause the finish to bubble and peel. So, let the wood dry for at least two days post-cleaning. And, if you're unsure, use a cheap moisture meter to double-check for any hidden moisture.
Another frequent error is applying oil in direct sunlight. This can cause the oil to dry on the surface before it properly soaks in. Then there's the issue of not stripping a painted deck. Some people think a quick sanding is sufficient, but old paint tends to clog sandpaper. Any remaining film can peel away and take your new coat with it.
Additionally, avoid applying the coating too thickly in hopes of skipping a coat. Thick layers often remain tacky and attract dust. Also, take your time with cleaning, as dirt and mould left in the wood's grain can prevent the oil from bonding effectively.
When to call a professional deck restorer
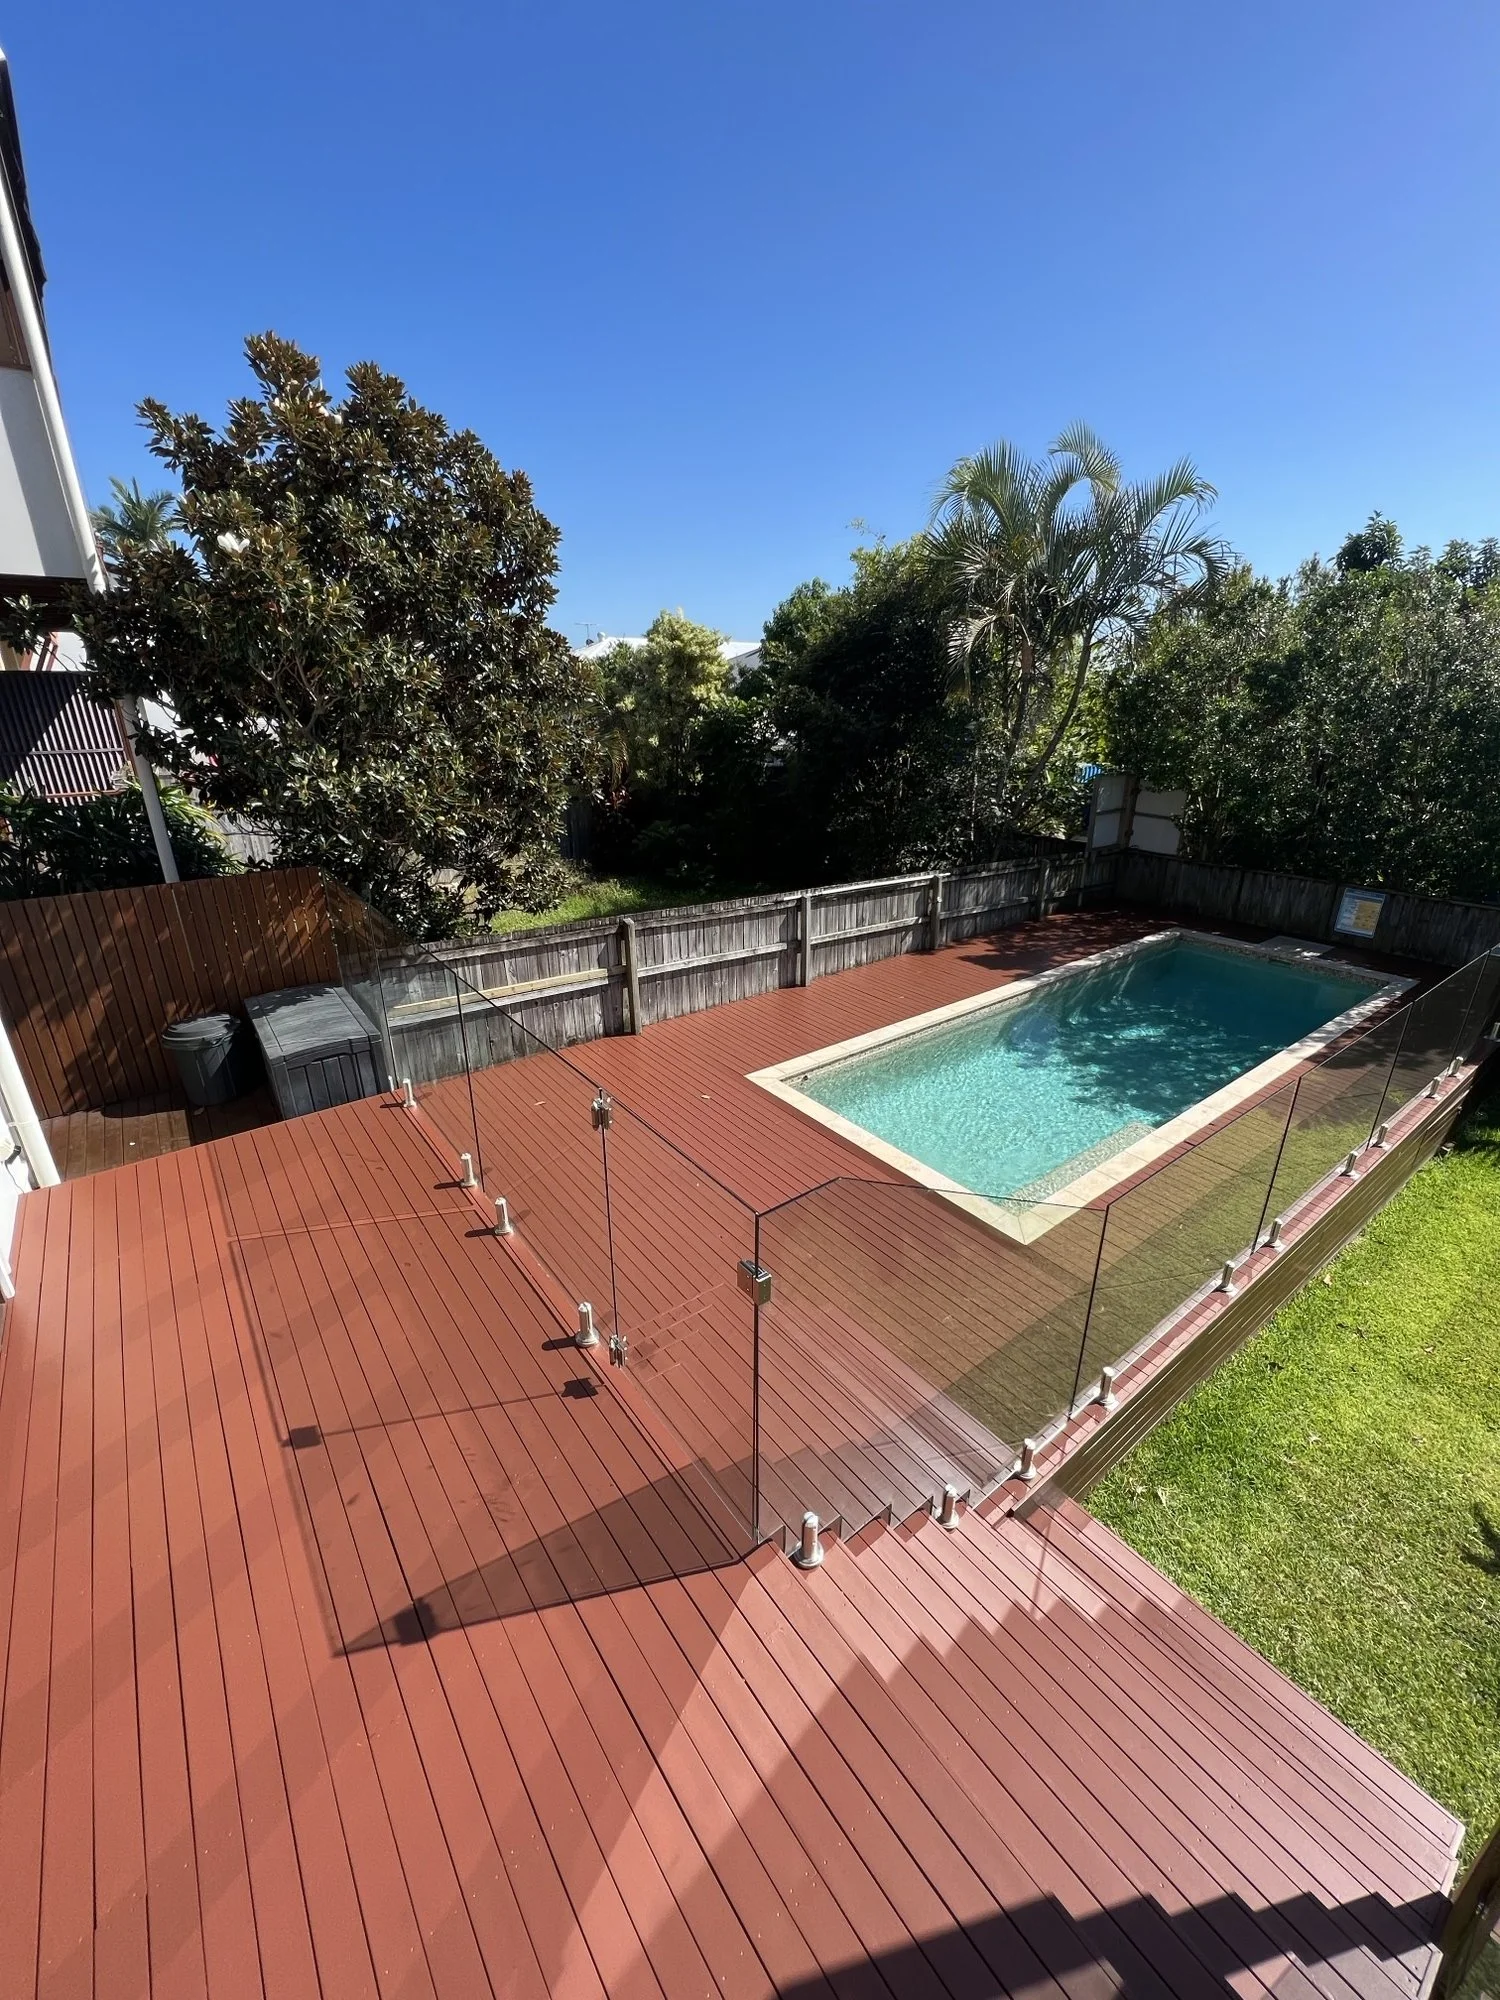
Lots of homeowners love putting a small ground-level deck together over a few weekend days. But getting into a bigger or elevated deck is way tougher. It needs better access and full floor sanding, turning it into a big project. So, it's not something you'd want to DIY lightly.
Consider hiring a professional if you encounter structural rot or if you're working against a tight deadline or unfavourable weather conditions that limit the necessary dry time for preparation.
At DC Decorators, we have over ten years of experience in restoring and recoating decks throughout Brisbane and the surrounding areas, from the Gold Coast to the Sunshine Coast. Our work is QBCC licensed (15331027) and includes a five-year extended warranty, along with a satisfaction guarantee. We can provide a quote within 24 hours.
Frequently asked questions about deck restoration
-
Grey is simply UV-damaged surface wood that can easily be stripped away using washing and sanding. Clean the deck with deck cleaner and then sand away the rest. Wood brightener can restore the colour after the deck has turned too grey. With the bare wood now exposed, an oil or stain can bring the warmth back to it.
-
In almost all cases, yes. Sanding gets rid of the weather-beaten outer layer and exposes the wood grain to allow the stain to soak into the wood properly. The only case when sanding is unnecessary is a good-condition deck with an intact oil-based finish.
-
Yes. A stiff broom and garden hose do an excellent job of cleaning a deck using deck cleaner, it just takes more effort. A pressure washer does the job faster and removes more grey spots, but when used recklessly, it can gouge softer wood, so it is not essential.
-
A normal residential deck will typically require two to four days of active work over the course of one week or more, due to drying times needed at various points. It requires an entire day of cleaning and drying time for each coat applied.
-
In our climate, you should expect to have to re-oil every one to two years, because the UV and moisture levels break down coatings quicker than in places with cooler weather. If your deck is in direct sunlight or close to the water, especially with salt in the air, that would be sooner. Cleaning and re-coating is preferable to a complete renovation.
-
It's usually more economical to restore a deck when the structure is fine, since you won’t have to replace the framework or too many planks. It makes more sense to replace it if rotted wood has spread to the framework itself or lots of the planks have been damaged.