
How to prepare your home for interior painting
Prepping your walls before painting is crucial. It sets the stage for a beautiful finish and ensures the paint will endure. Properly cleaned and filled walls prevent imperfections from becoming visible once the paint dries. Even the priciest paint can't conceal a poorly prepared surface. Fortunately, much of this preparation is manageable on your own if you follow the right steps.
This guide will walk you through clearing and protecting a room and getting your walls ready for painting. It also highlights when you might want to consider hiring a professional. If you prefer to leave the job to experts and ensure it's done perfectly from the get-go, DC Decorators offers quotes within 24 hours.
How to clear and protect a room before painting
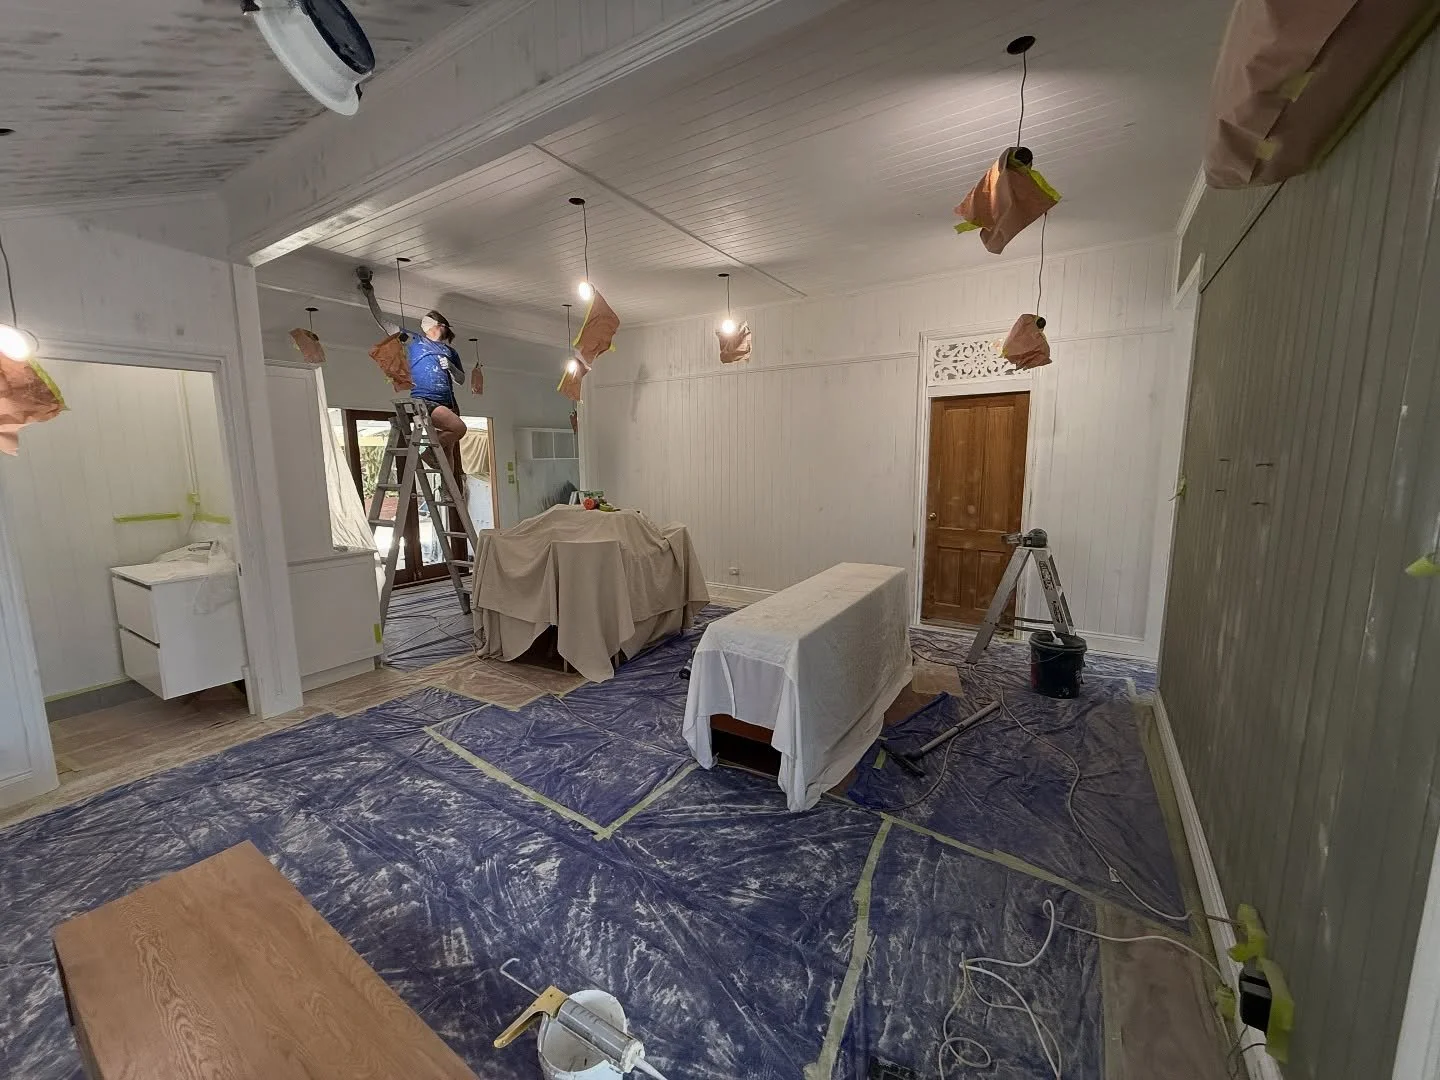
Start by removing as much as possible from the room. Shift small furniture, lamps, wall hangings, and personal items to another space. This not only makes the painting process easier but also prevents accidents. For heavier furniture that can't be moved, push it to the centre of the room and cover it with a protective layer.
With the room cleared, it's time to protect what's left. Spread drop cloths on the floor and drape plastic sheets over any remaining furniture. For timber floors that need to stay in top shape, cover main paths with rosin paper or clean drop cloths. To get crisp lines and stop paint splatters, use painter's tape along baseboards and around window and door frames.
Take the light fixtures out or, at least, unscrew them and tape them up. Also, remove outlet covers and switch plates - it takes a minute but makes a big difference. Don't skip opening windows for fresh air, especially in Brisbane's stuffy summers.
Your interior painting prep checklist
Run through this before any painting starts:
Move small furniture and personal belongings out of the room
Push heavy furniture to the centre of the room and cover it with plastic sheeting
Take down curtains and any wall hangings or décor
Remove or loosen light fixtures, and unscrew the outlet covers and switch plates
Lay drop cloths over the floor and rosin paper down any timber walkways
Apply painter's tape to the skirting and around the window and door frames
Wash the walls with sugar soap and rinse with a damp cloth
Fill holes and cracks, then scrape back any peeling paint
Sand the filled areas and glossy surfaces, then remove the dust
Check the walls are completely dry before the first coat goes on
Open the windows for ventilation
How to prepare interior walls for painting
Many DIY paint projects stumble at the preparation stage. Although walls may seem clean, they often have a layer of dust and old cooking grease that prevents new paint from adhering properly. It's crucial to follow the right steps: start by thoroughly cleaning the walls. Once that's done, apply filler where needed, and only then should you sand the surface. If you mix up this order, you risk sanding through filler that hasn't dried, or worse, painting over dust that your sanding has just unsettled.
Clean the walls with sugar soap
Sugar soap is known for being a great cleaner against tough grime and grease on indoor walls, especially in spots like kitchens and hallways. To get the best results, always check the package and mix it according to the instructions. When you apply it, begin at the bottom and work upwards. This stops drips that might leave streaks on parts of the wall you haven't cleaned yet. After you finish cleaning, wipe everything down with a damp cloth and some clean water. Let the walls dry completely before touching them. Also, make sure to scrub areas like around light switches and kitchen splashbacks extra well, as these spots tend to gather a lot of grease.
Fill nail holes, cracks and peeling paint
After the walls have dried, use a putty knife along with some filler to address every nail hole, crack, and dent you find. Ensure you press the filler in firmly so it sits slightly above the surface, as it will shrink slightly as it dries. If you have any old holes from wall hangings that you don't plan to rehang, fill those as well to prevent them from showing through the new paint.
If you see paint peeling or flaking, remove it first before adding filler. Use the putty knife to scrape back to a stable edge, then smooth the edge to prevent a visible ridge where the old paint meets the bare wall. Skipping this step means the new paint might lift with the loose paint, leading to the same issue in a few months.
Sand the walls for a smooth surface
Sanding is super important when prepping walls for new paint. It first evens out dried filler, making it level with the rest of the wall. Then, it roughens the old paint for better adhesion of the new stuff. Typically, just use medium-grit sandpaper on patched spots and gently go over glossy areas. After you're done sanding, make sure to get rid of the dust. Either vacuum it or wipe down the surface with a damp cloth. This keeps pesky bumps from showing up later. When the wall is clean and dry, you're good to start painting.
What to prep yourself vs leave to a professional painter
Taking on some of the preparation tasks yourself can significantly reduce the cost when hiring painters. Start by clearing out the room. Move the furniture, remove wall decorations, and take off outlet covers. These tasks require care rather than expertise. If you're comfortable on a ladder, consider washing the walls with sugar soap as well.
Watch out for surface preparation. Getting a super flat wall means lots of filling and sanding, but that can get tricky. Uneven spots pop out after painting, thanks to how light hits them. Also, sanding old paint makes dust, which isn’t safe to breathe, especially in older places where the paint could have lead in it.
If your room is in decent condition and you have the time, handling the clearing and cleaning yourself is practical and cost-effective. But when it comes to patching and the final sanding, hiring a professional is wise. This meticulous preparation is crucial for a paint job that lasts. At DC Decorators, we offer a five-year warranty, a testament to the thoroughness of our preparation work and the durability it ensures.
Extra prep for older and Queenslander homes
Old Brisbane homes, especially classic Queenslanders, have certain challenges compared to newer builds. A big worry is lead paint; houses made before 1970 could have many layers of it. This paint is risky when messed with, causing major health issues, particularly in kids. If your place has walls from that era and you don't know what's underneath, avoid do-it-yourself solutions. Leave it to pros who can handle it safely.
The timber used in old houses is another thing to think about. Unlike modern plasterboard, tongue-and-groove VJ walls and old timber trims move with changes in the weather. So, any filler you use in the joints may crack as the wood shifts. It's best to use flexible gap fillers instead of hard ones for this reason. The glossy enamel on these old trims also usually needs lots of sanding and maybe an undercoat before you paint over them to make sure the new paint sticks properly.
Brisbane's climate adds another layer of complexity. The high humidity can slow down drying times, and during wet seasons, walls that seem dry might still contain moisture that hampers paint adhesion. In rooms like bathrooms, where ventilation is poor, mould can thrive on interior walls. It's crucial to eliminate and treat mould thoroughly before painting, as simply covering it will allow it to resurface through the new paint layer.
Common interior painting prep mistakes to avoid
One common mistake in painting is skipping the cleaning step or rushing through it. Initially, a freshly painted room may look great even if applied over a greasy wall, but within a couple of weeks, the paint can start peeling because it never adhered properly. Another frequent error is not allowing sufficient drying time. This is crucial after washing the walls and between applying coats. Painting over a damp surface or applying a new coat before the previous one has cured leads to uneven coverage and a patchy appearance.
Many also cut corners on protection measures, only to regret it later. For instance, bypassing drop cloths and plastic sheeting to save a few minutes often results in paint splatters on the floor. Painter’s tape can also be problematic if not applied correctly; poorly pressed tape allows paint to seep underneath, so ensure you press it down firmly along the edges before you begin.
Two more issues worth mentioning include overloading the roller with paint, which causes drips and an uneven finish, and stopping at one coat when two are necessary. Most walls require two coats to achieve a smooth and durable finish. Attempting to save on paint by using only one coat often results in a lacklustre appearance.
When should you bring in a professional painter?
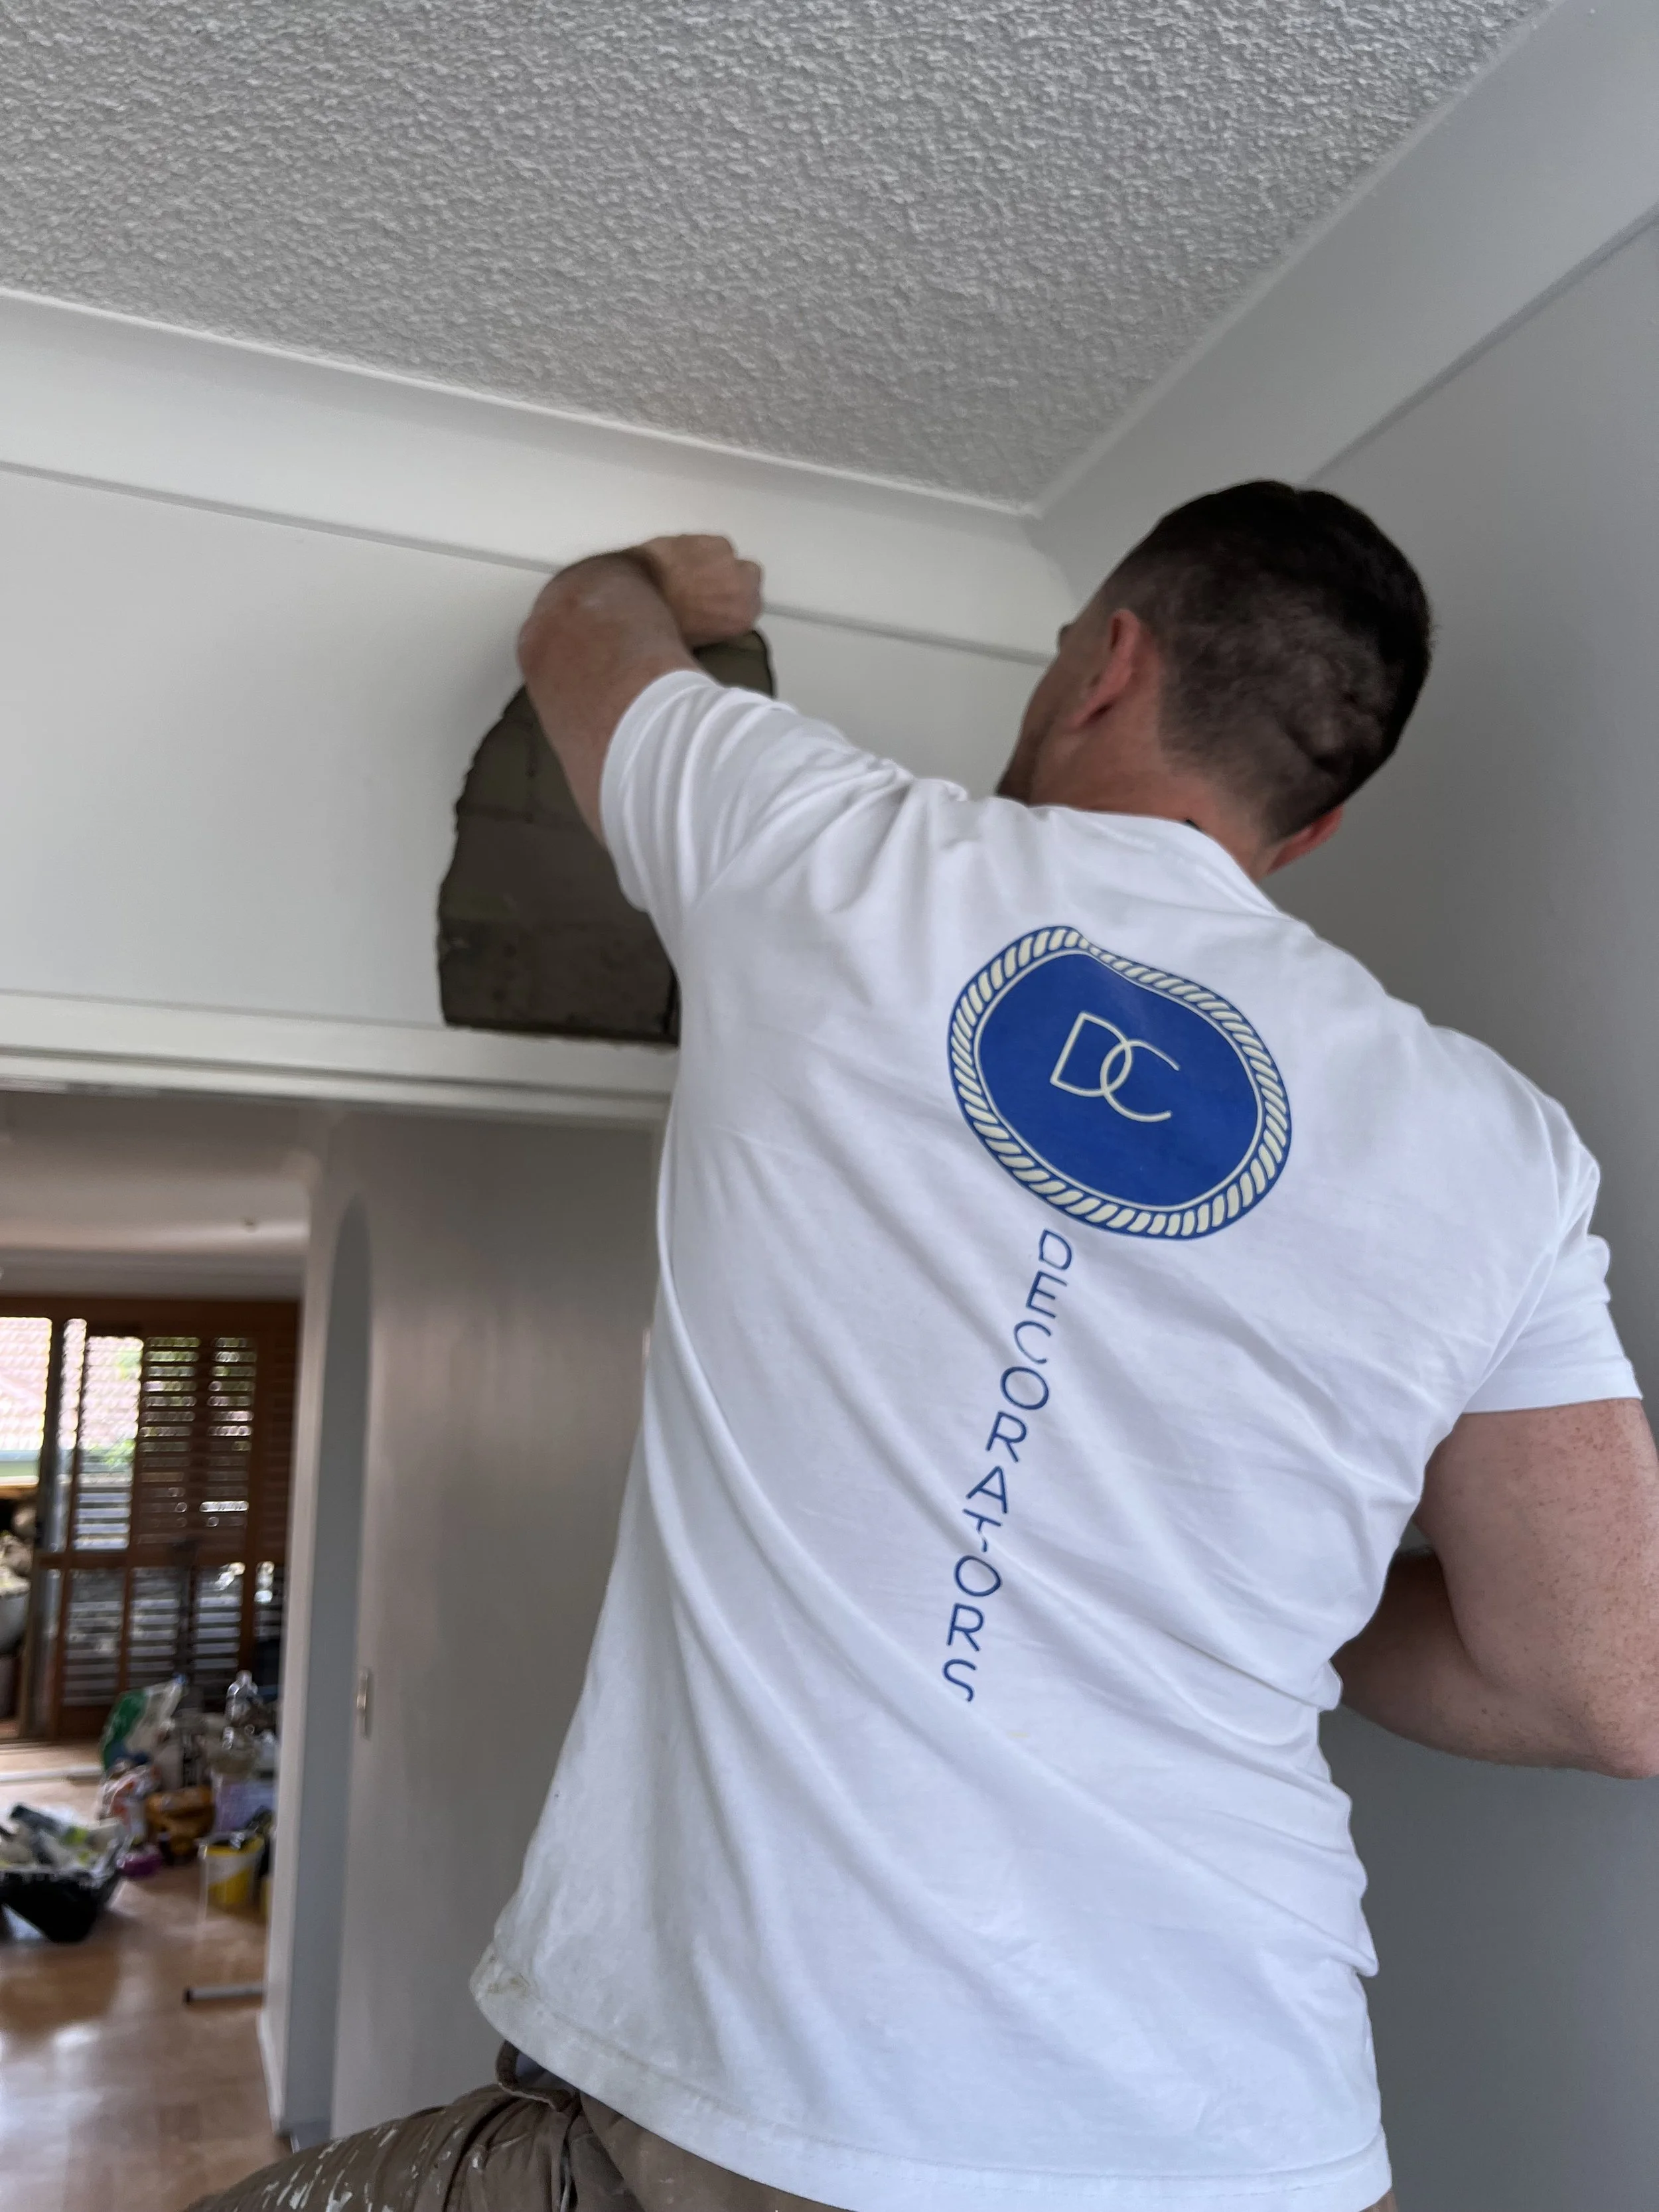
While lots of homeowners handle interior painting, there are times when pros should step in. Think about uncovering moisture problems or tussling with lead paint on old walls. Experienced painters can tell if you need a full redo or just a primer and fresh paint. Getting it right from the start saves you from fixing mistakes later on.
At DC Decorators, we pride ourselves on our QBCC license (15331027) and offer a five-year warranty with a satisfaction guarantee on our interior projects. If you prefer peace of mind and want the job done perfectly the first time, we’ll provide a personalised quote within 24 hours.
Frequently asked questions
-
A normal room that is in good shape will require anywhere from a few hours to a day for the process, including clearing out, cleaning, taping, and then an initial coat and some sanding. Older rooms with more holes and possibly glossy paint on existing trim work can add many extra hours to the process. The general rule is that the poorer the walls, the longer the preparation process will take, but the preparation time taken is never time wasted.
-
Not necessarily. For walls that have been previously painted and are still in good condition, a simple cleaning and sanding should suffice before applying the topcoats. However, a primer or undercoat will be required if there are any bare patches, patches that require repair, newly plastered drywalls, stains, and even on any glossy surface where the fresh paint needs help to grip. In case of any doubts, priming a patch is inexpensive protection from it flashing through the finish.
-
In most cases, yes. Applying paint on top of wallpaper would only trap the creases underneath the paint layer, which would likely become bubbled. However, if the wallpaper is well adhered to the wall with no peeling parts, then there is a chance that it can be painted over.
-
No. This is because applying paint on the mould just covers up the problem, as the mould continues growing under the paint, eventually penetrating through again in a few weeks' time. The mould must first be removed, and the area made dry. If the mould persists, there is most likely excess moisture in the environment.
-
Make sure that the walls have been allowed to dry for a few hours, or even longer in humid conditions such as those in Brisbane, where moisture tends to linger. The wall may seem dry on the outside but actually be moist under the surface, so give it an extra night just to make sure.